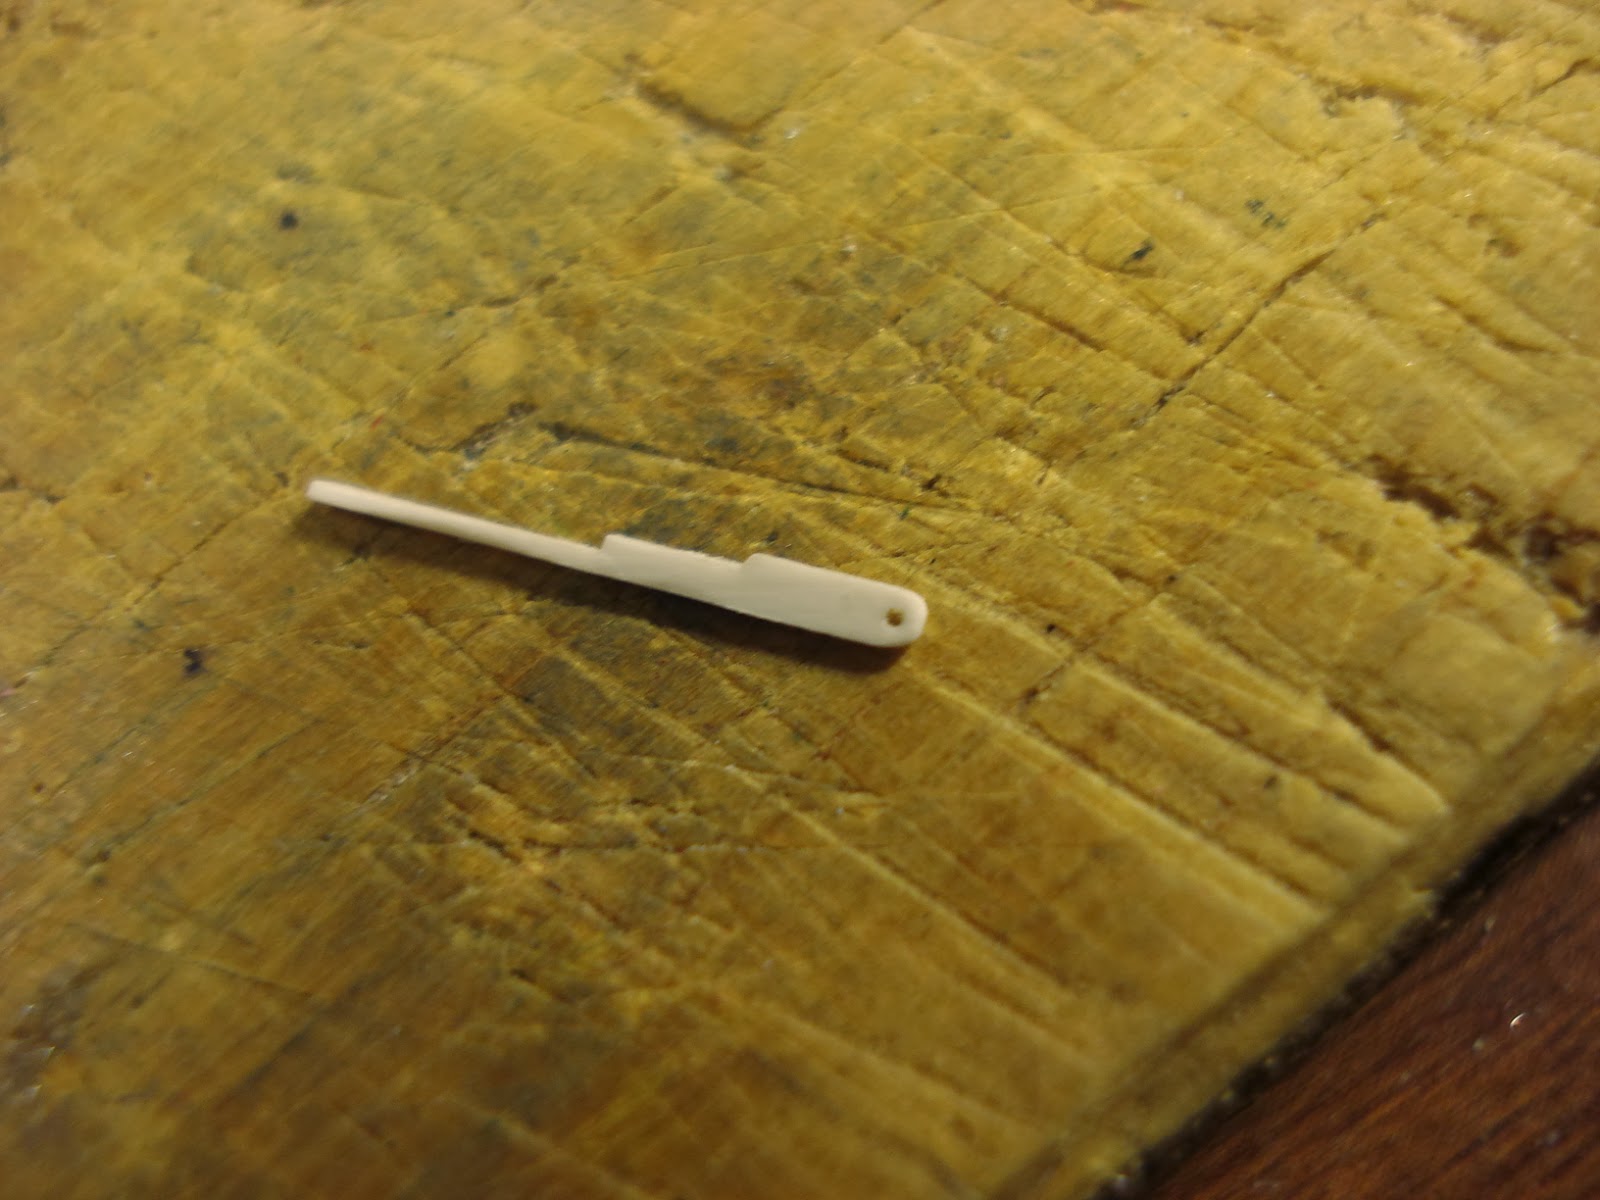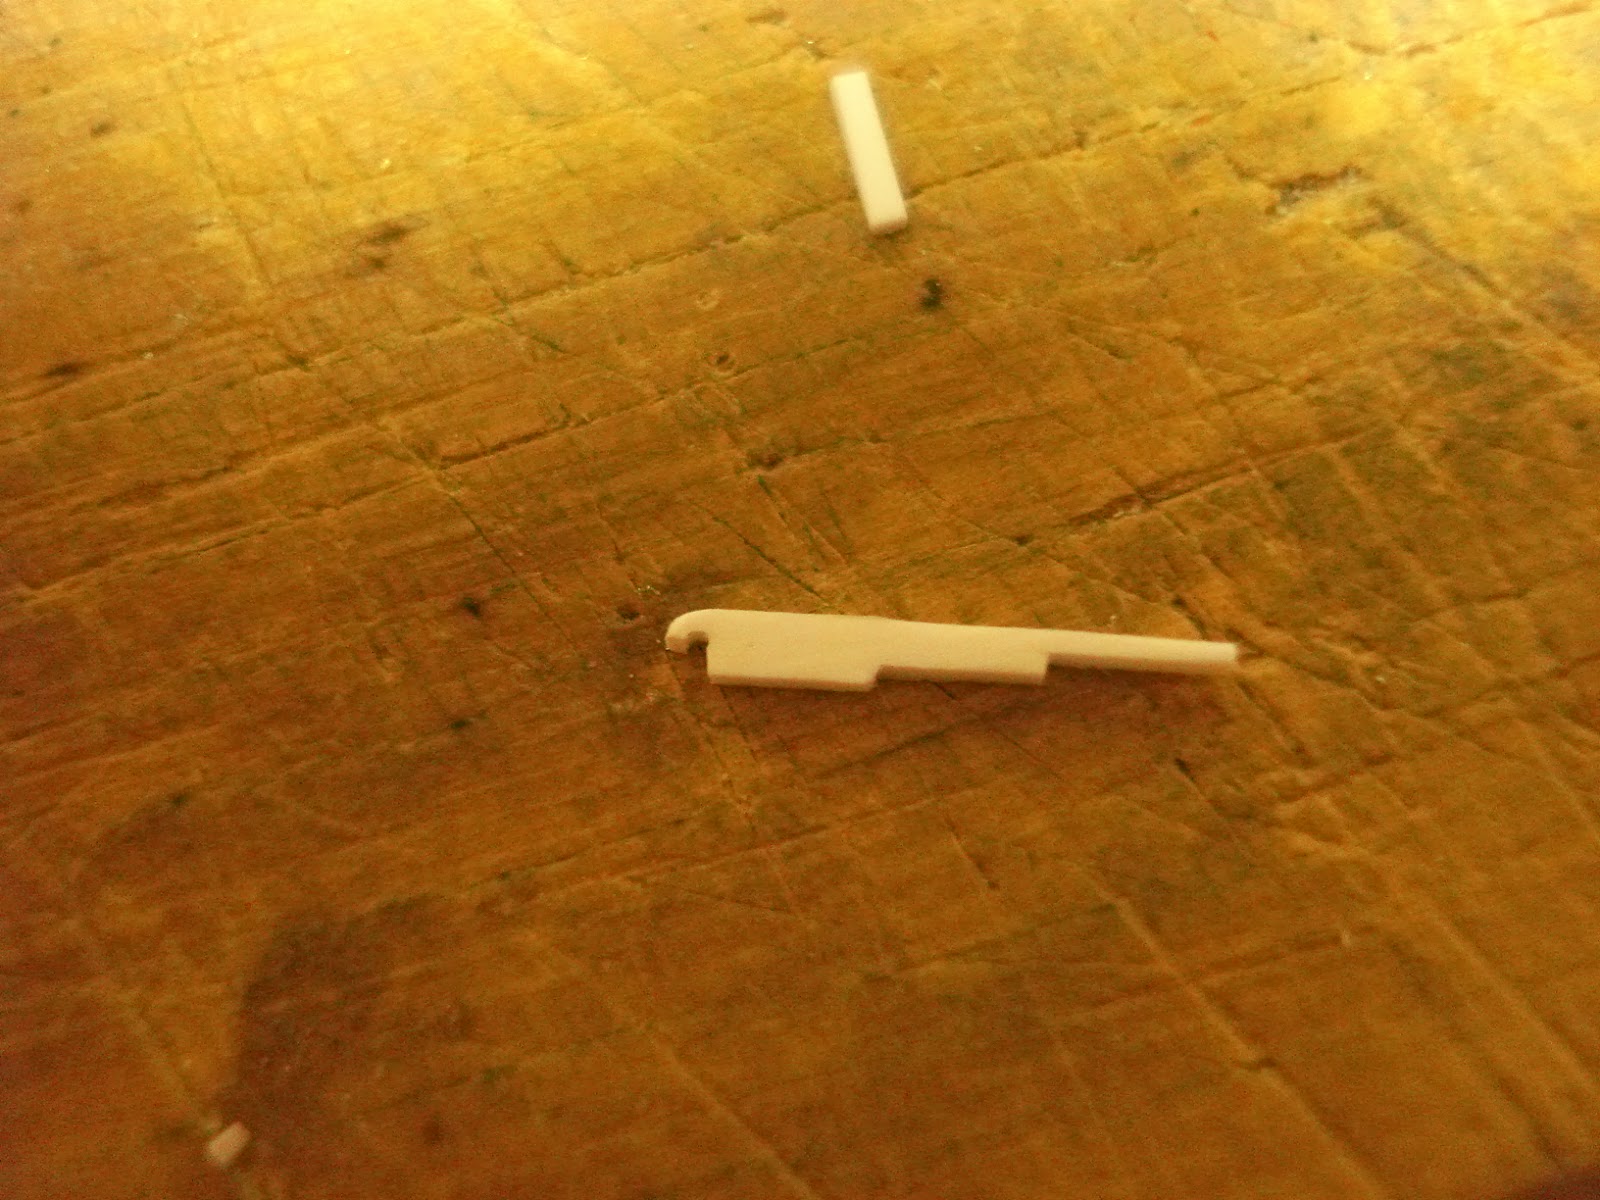
...then I would wrap the other end of the strip around to form the second hole and then slide the pins in and boom, its done. Well, things didn't quite go that easily. Feeding a .015" brass pin through a .016" hole in a tiny aluminum bracket and a plastic arm proved to be quite the annoying challenge. Inspiration hit me in the shower that I didn't need to actually have a hole here. The underside of the hole would not be seen. So...I cut off that underside.
Now I could just sit the arm on top of the pin without having to fuss with feeding the pin through the hole. I tried it with this piece and it worked beautifully. Unfortunately this particular piece was way too thick. The support arm should be roughly square. I had to try a few more incarnations of this and ended up just using 2 pieces of .015" x .030" strip, one cut to fit the distance between the pins, the other to form the visible part of the arm. Sure I could have used .030" square stock, but I don't have any. Just gotta work with what I have. The picture below shows the progression of this process. The top arm is the one that was used. I filed a little divot so the pin would sit a little deeper in the arm.

After a little green zinc chromate, the arms popped right into place with a little super glue.

And personally, I think they look pretty good. The pins are .015" brass rod cut to length with a little dab of silver paint on the ends.

Last but not least was the return oil line on the top of the oil tank. I showed the construction of the new line in the last blog. It was painted zinc chromate with a little bit of bare metal revealed near the top as per the real Mustant. I created the rubber connection hose by masking off the area and applying 3 layers of flat black paint. Once the masking tape was removed, it left a nice thick layer that looked like a rubber hose. This picture shows the hose already installed.

Here are some comparison photos of the original kit pieces and my modifictions. Its obvious the difference a few months of work can do.


Here are some other pictures of the completed firewall.


And with the completed engine. Of course it will look much better when the engine mounts, cowl structure, and additional cooling hoses are in place.

Next up will be some heavy fuselage modifications to transform the D model into a C model. It might have to wait til after I get my A&P license as I will be in hardcore study mode for the next couple of weeks. In the meantime, I may do a straight out-of-the-box build of a Revell ProModeler 1/48 F-84 Thunderjet that I have sitting here and do a couple blog entries designed more for beginners or people just looking to improve their building technigues. I gotta get my model building fix somehow :)

Great looking detail. Definitely a major improvement over the kit part!
ReplyDelete