Continuing on with my personal quest to give
myself headaches, I tackled the oil tank straps next. The kit pieces have these
elements molded on and I suppose they would look fine with a little paint and
maybe some weathering, but I'm not going for fine, I'm going for mind-blowing.
So these have got to be replaced.
I
cleaned the edge of my soda can aluminum so both sides were bare metal. Then I
cut a strip of soda can aluminum .040" wide and cleaned the burrs off the
edges. You have to be careful doing this because you can very easily snag the
end of the strip on the sandpaper and badly bend your nice flat strip.
The
major pain in this piece is the slot in the middle of the strip, however there
is an easy solution to this. Now I don't have access to a milling machine or a
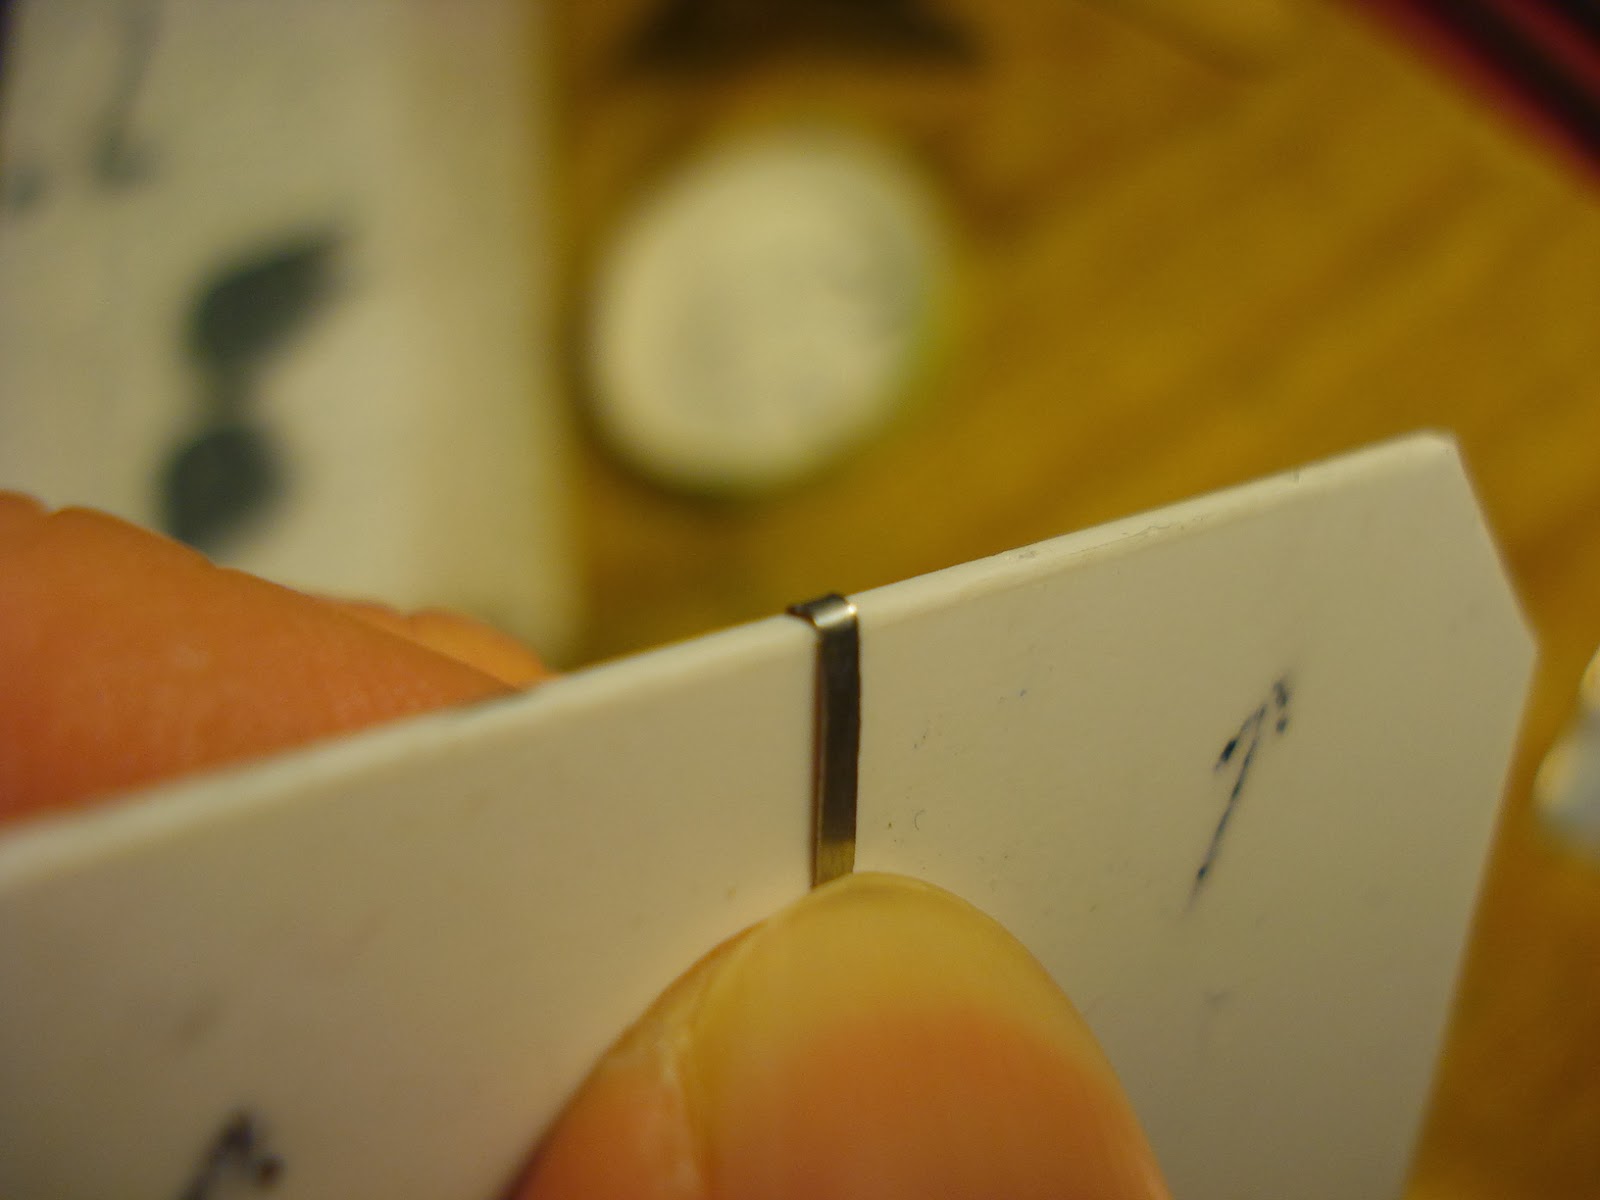
punch set, so I had to improvise. First, create the shape of the piece by
laying the pin material over the strip and wrapping the end of the
strip around it to form a loop. I initially thought using an old eyebolt rod would be the right size, which is what you see in the photo, but decided it was too small to look scale. For the actual strap, I used a .021" steel rod made from the same material used for fuel and oil lines on the engine.

You have to use a reference photo of the oil
tank to get the shape of the loop and the length of the mounting tab accurate.
I tack glued the tab to the strap with super glue. This glue joint will break
several times during the next few processes which is sure to cause a number of
headaches, but it's really just there to hold the pieces together momentarily
anyway.

Now
to get the slot, I cut a pilot slit with an X-Acto knife in the center of the
high point of the loop. If you're careful, you can even cut a little V groove
in it. Next, I took my razor saw, that has a blade of .020" thick, and
very carefully sawed along the groove until it broke through. Only saw in one
direction using the back side of the saw teeth or this method won't work. Move
the blade slowly, don't try to rush this. Once you get a good groove, told over
some fine grit sandpaper and clean the slot. Use an X-Acto blade tip to clean
out any flakes inside the loop. And presto, a clean slot.


To
simulate the bolts that hold the loop down to the strap, I will use some old
eyebolts from a ship model I built years ago. Another lesson in never throwing
old parts away. I decided to drill a small hole to insert a piece of the tail
of the eyebolt. Use an X-Acto tip to drill a small pilot divot in the center of
the loop tab. I used a .014" carbide drill bit to drill out the hole.
Chances are this is where the glue tack on the tab will break, but that's ok if
it does, clean out any residual super glue. We'll hold this thing down later. You'll
have to slightly enlarge the hole with an X-Acto knife to allow the eyebolt to
fit.

To
secure the eyebolt pin, and the loop tab, I used JB Weld applied with the tip
of my X-Acto knife blade. I held everything in place with tweezers until it had
set. Fast JB weld will set in about 5 minutes. I cut down the tail of the
eyebolt pin leaving a small protrusion on the back of the strap. I did this for a few reasons: 1.
Cutting metal that is only held in place with .006" of gluing surface will
most likely result in the pin breaking off and that means I would have to do
the whole process over again. 2. I will drill out a space in the oil tank
itself to hide this protrusion which will give me a little more gluing surface
when I finally attach the straps to the tank. This is beneficial because the
spring back of the aluminum could pop it free at one end. This little
protrusion gives a more solid anchor.