ad 1

Friday, January 24, 2014

P-51C Mustang Firewall and Oil Tank Completed

There were only a few things remaining to finish the firewall. First up were the arms that supported the oil tank on the bottom. Initially this seemed like a fairly easy task since I had made something similar on the main gear. I was going to take a strip of .015" x .030" plastic strip and cut it to length between the two pins and then wrap another strip around the end to form a hole, like this....


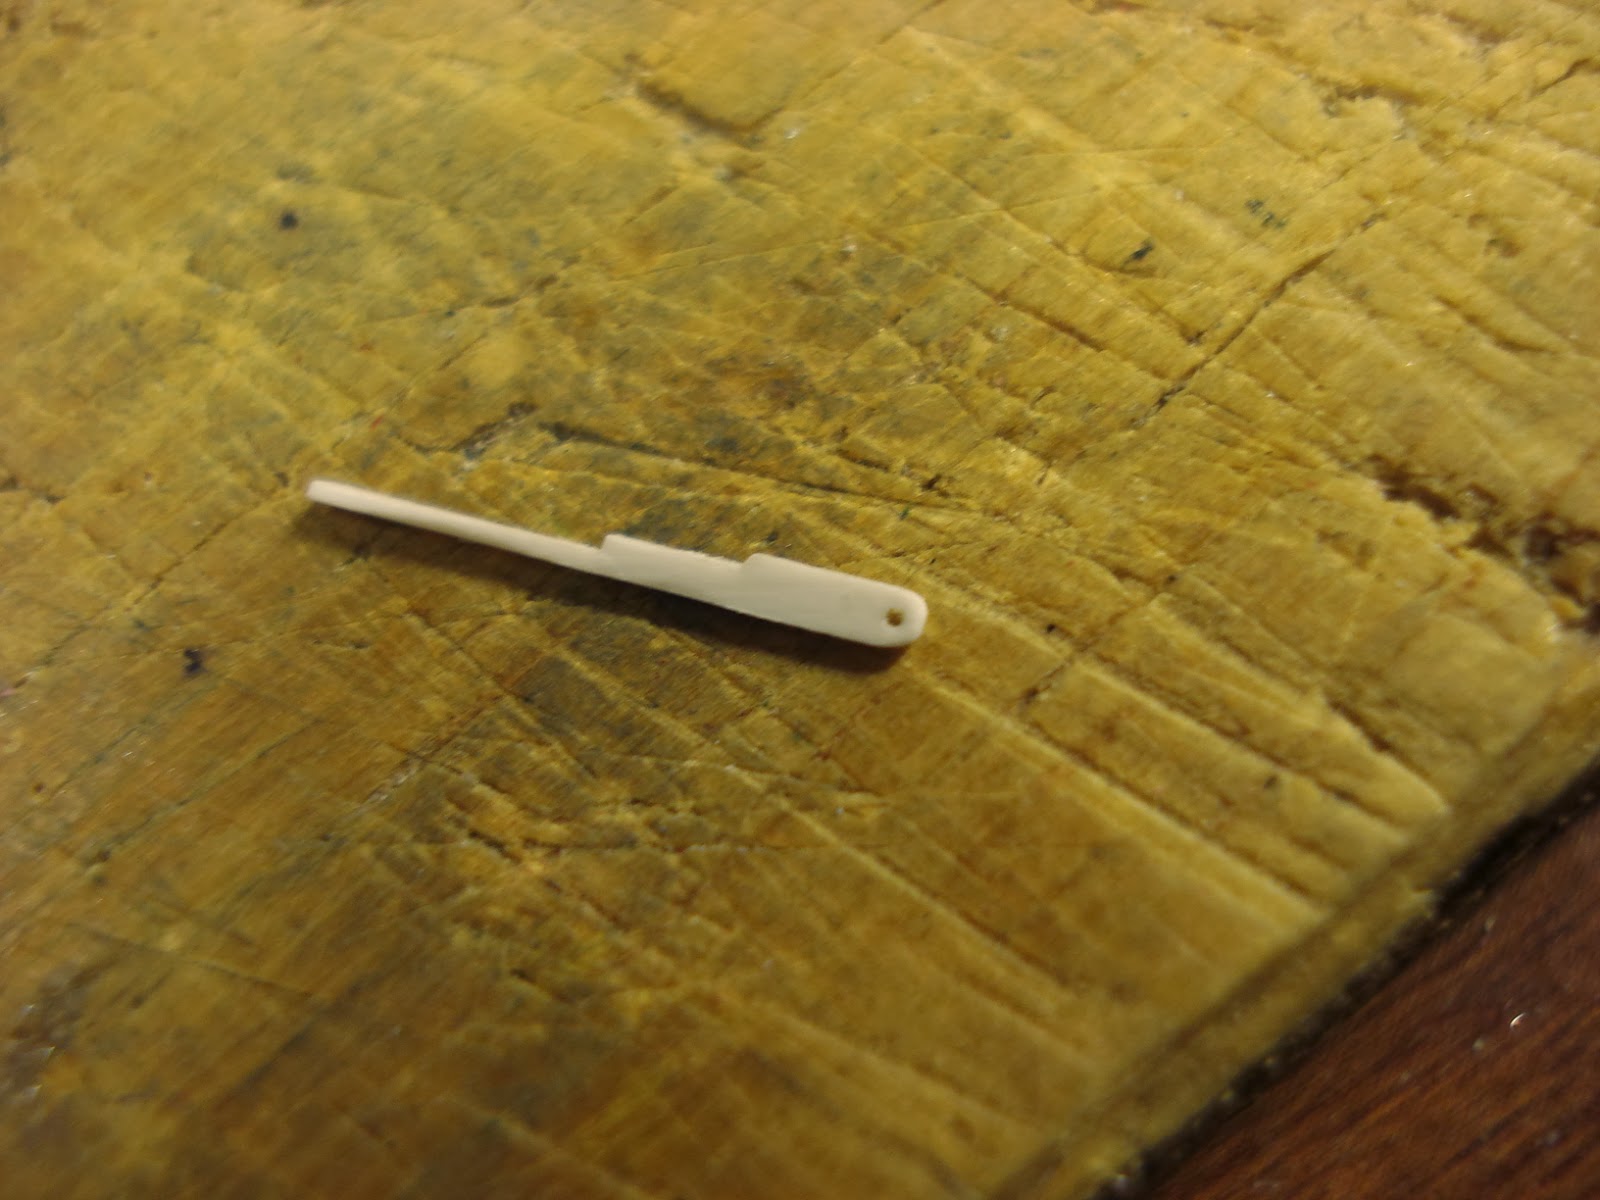
...then I would wrap the other end of the strip around to form the second hole and then slide the pins in and boom, its done. Well, things didn't quite go that easily. Feeding a .015" brass pin through a .016" hole in a tiny aluminum bracket and a plastic arm proved to be quite the annoying challenge. Inspiration hit me in the shower that I didn't need to actually have a hole here. The underside of the hole would not be seen. So...I cut off that underside.


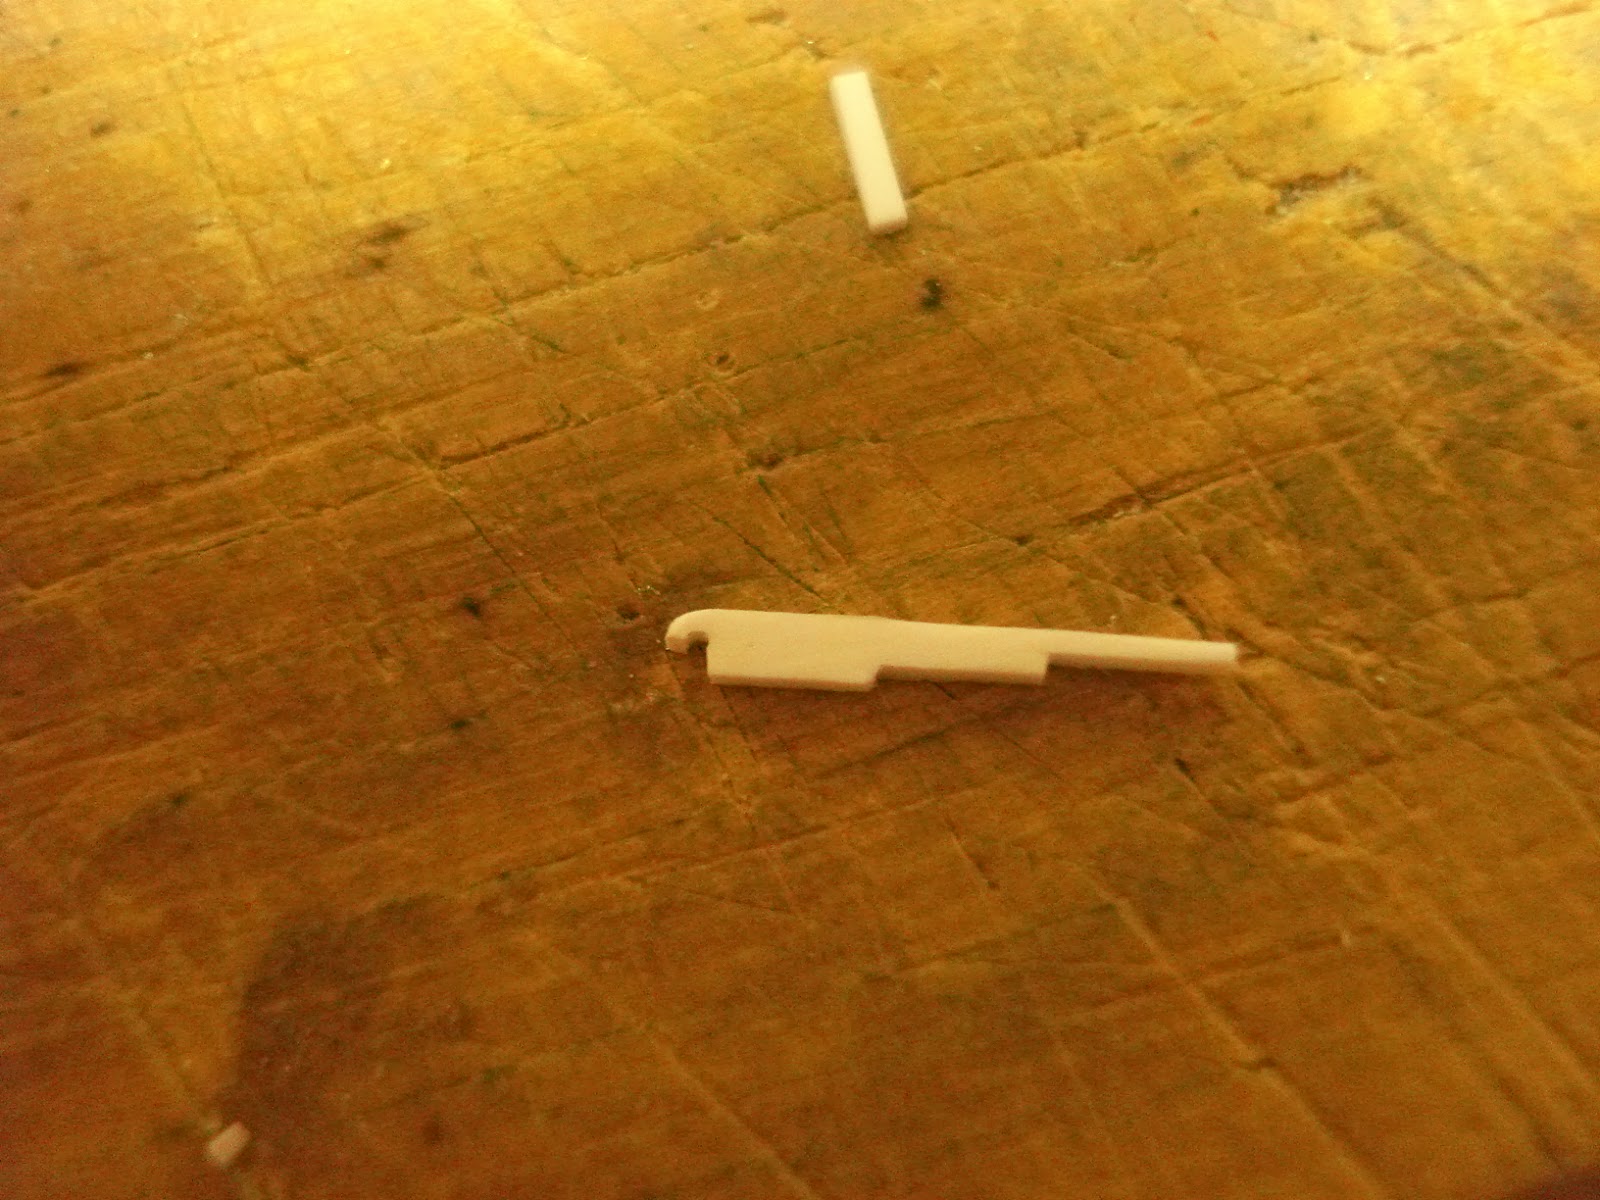
Now I could just sit the arm on top of the pin without having to fuss with feeding the pin through the hole. I tried it with this piece and it worked beautifully. Unfortunately this particular piece was way too thick. The support arm should be roughly square. I had to try a few more incarnations of this and ended up just using 2 pieces of .015" x .030" strip, one cut to fit the distance between the pins, the other to form the visible part of the arm. Sure I could have used .030" square stock, but I don't have any. Just gotta work with what I have. The picture below shows the progression of this process. The top arm is the one that was used. I filed a little divot so the pin would sit a little deeper in the arm.


After a little green zinc chromate, the arms popped right into place with a little super glue.


And personally, I think they look pretty good. The pins are .015" brass rod cut to length with a little dab of silver paint on the ends.


Last but not least was the return oil line on the top of the oil tank. I showed the construction of the new line in the last blog. It was painted zinc chromate with a little bit of bare metal revealed near the top as per the real Mustant. I created the rubber connection hose by masking off the area and applying 3 layers of flat black paint. Once the masking tape was removed, it left a nice thick layer that looked like a rubber hose. This picture shows the hose already installed.


Here are some comparison photos of the original kit pieces and my modifictions. Its obvious the difference a few months of work can do.


Here are some other pictures of the completed firewall.


And with the completed engine. Of course it will look much better when the engine mounts, cowl structure, and additional cooling hoses are in place.


Next up will be some heavy fuselage modifications to transform the D model into a C model. It might have to wait til after I get my A&P license as I will be in hardcore study mode for the next couple of weeks. In the meantime, I may do a straight out-of-the-box build of a Revell ProModeler 1/48 F-84 Thunderjet that I have sitting here and do a couple blog entries designed more for beginners or people just looking to improve their building technigues. I gotta get my model building fix somehow :)

Wednesday, January 8, 2014

P-51C Mustang Firewall Construction - Part 2

I've been distracted lately with another model, not one of mine, so I haven't had much time to work on the Mustang. My dad has a friend who gave him a lowrider model to finish, my dad passed it on to me. I don't built lowriders. I look at this thing and don't have a clue what I'm looking at and the kit is so primative and crude, its almost an insult to have it near my Mustang LOL. Anyway, soon it will be done and I can get back to better things.

So now for part 2 of the construction of the firewall. This part has a lot of little details and I really wish I had a better camera. So please excuse the blurriness of some of the photos.

I started with the two turnbuckles that secure the top and bottom tank straps together. I first painted the .015" brass rod silver and glued them in the holes drilled into the straps. The turnbuckles themselves were first made with the same .015" brass rod, but this proved to be much too large for scale. So I switched to some .007" wire pulled from an electrical wire and straightened. To create the nut, I wrapped the same wire around a straighten piece.


I pulled the ends of the wrapped rod tightly and cut along the length of the straight rod. This left a tiny little ring wrapped around the wire. With tweezers I worked the ring to the proper shape and tacked it in place with a smear of super glue. After cutting it to length to fit inside the pins in the straps, you get something really small, but really cool.


Here's the turnbuckle glued in place. This looks so much better than the kit parts, even though it's so small, its likely to be one of those overlooked details. But for those who see it, it will be mindblowing!


Before gluing the oil tank to the firewall, I had to fasten the strap mount brackets in place. I did this by eye, because the kit mounts were cut and filed off. Once I was satisfied with their position, I drilled a hole through the firewall for the "bolt" that will hold the mount. I slid a brass rod (painted silver) through the back of the firewall, protruding it on the front side enough to be a good scale bolt.


I scrapped away a little of the paint on the front of the firewall around the bolt so the glue surfaces would be more clean. I glued the mount in place with super glue.


The oil tank was glued on and two more brass rods were painted silver to create both the pins and the rods to finally mount the straps to the fire wall. It could some experimentation to get the length right, but once in place you see it all come together beautifully.


I had to add a few little details that were left off the kit oil tank, which can also be seen in the above photo. The dip stick tube and filler cap were made from plastic rod. The pull tab on the dipstick tube was made from soda can aluminum. Here is another picture of these details.


The hose running from the firewall to the top of the oil tank was included in the kit, but any one who has built a kit with round parts knows they are never actually round and there isn't much that can be done to fix them. So I made a new one from a paper clip. The clip had some corners which were easily filed down to make it more round.


I also had to cut off the hose from the filler port on the oil tank and hollowed it out so I can fit the new hose inside.


The hose was painted zinc chromate and is currently awaiting its attachment. That will be continued in part 3.