ad 1

Showing posts with label Details. Show all posts

Friday, January 24, 2014

P-51C Mustang Firewall and Oil Tank Completed

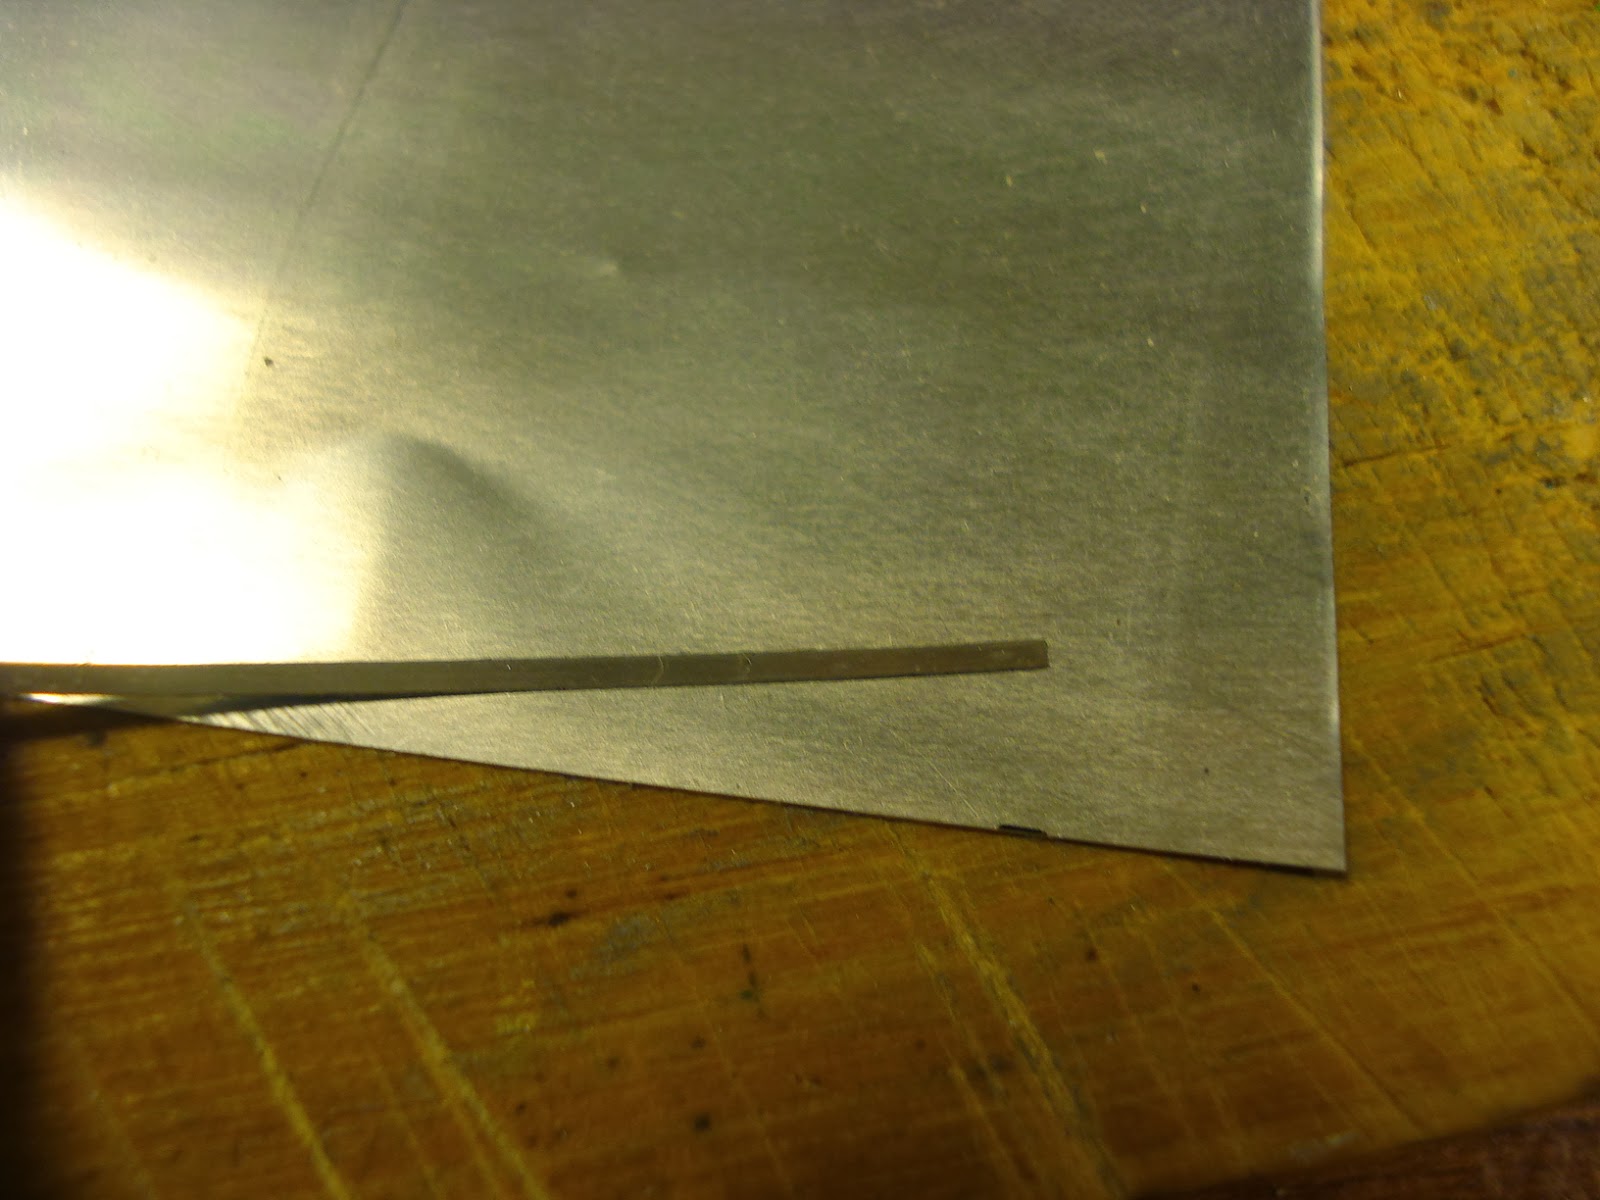
There were only a few things remaining to finish the firewall. First up were the arms that supported the oil tank on the bottom. Initially this seemed like a fairly easy task since I had made something similar on the main gear. I was going to take a strip of .015" x .030" plastic strip and cut it to length between the two pins and then wrap another strip around the end to form a hole, like this....


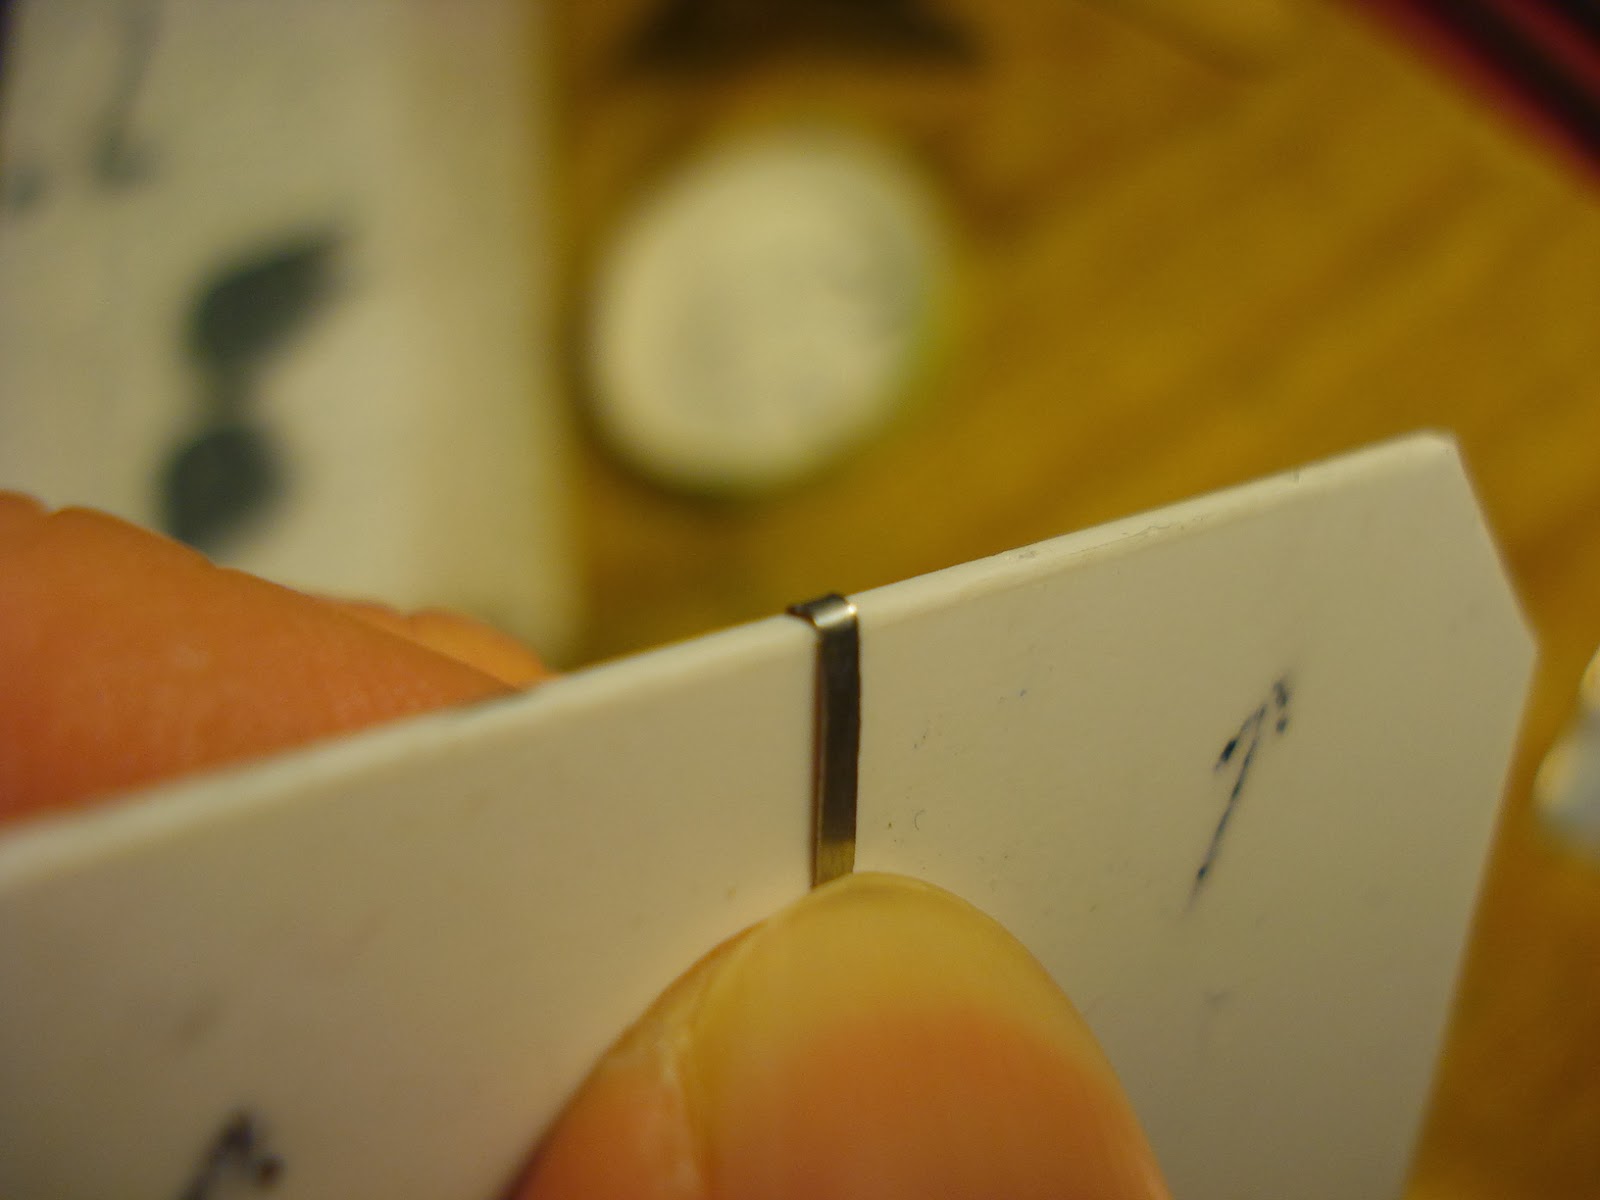
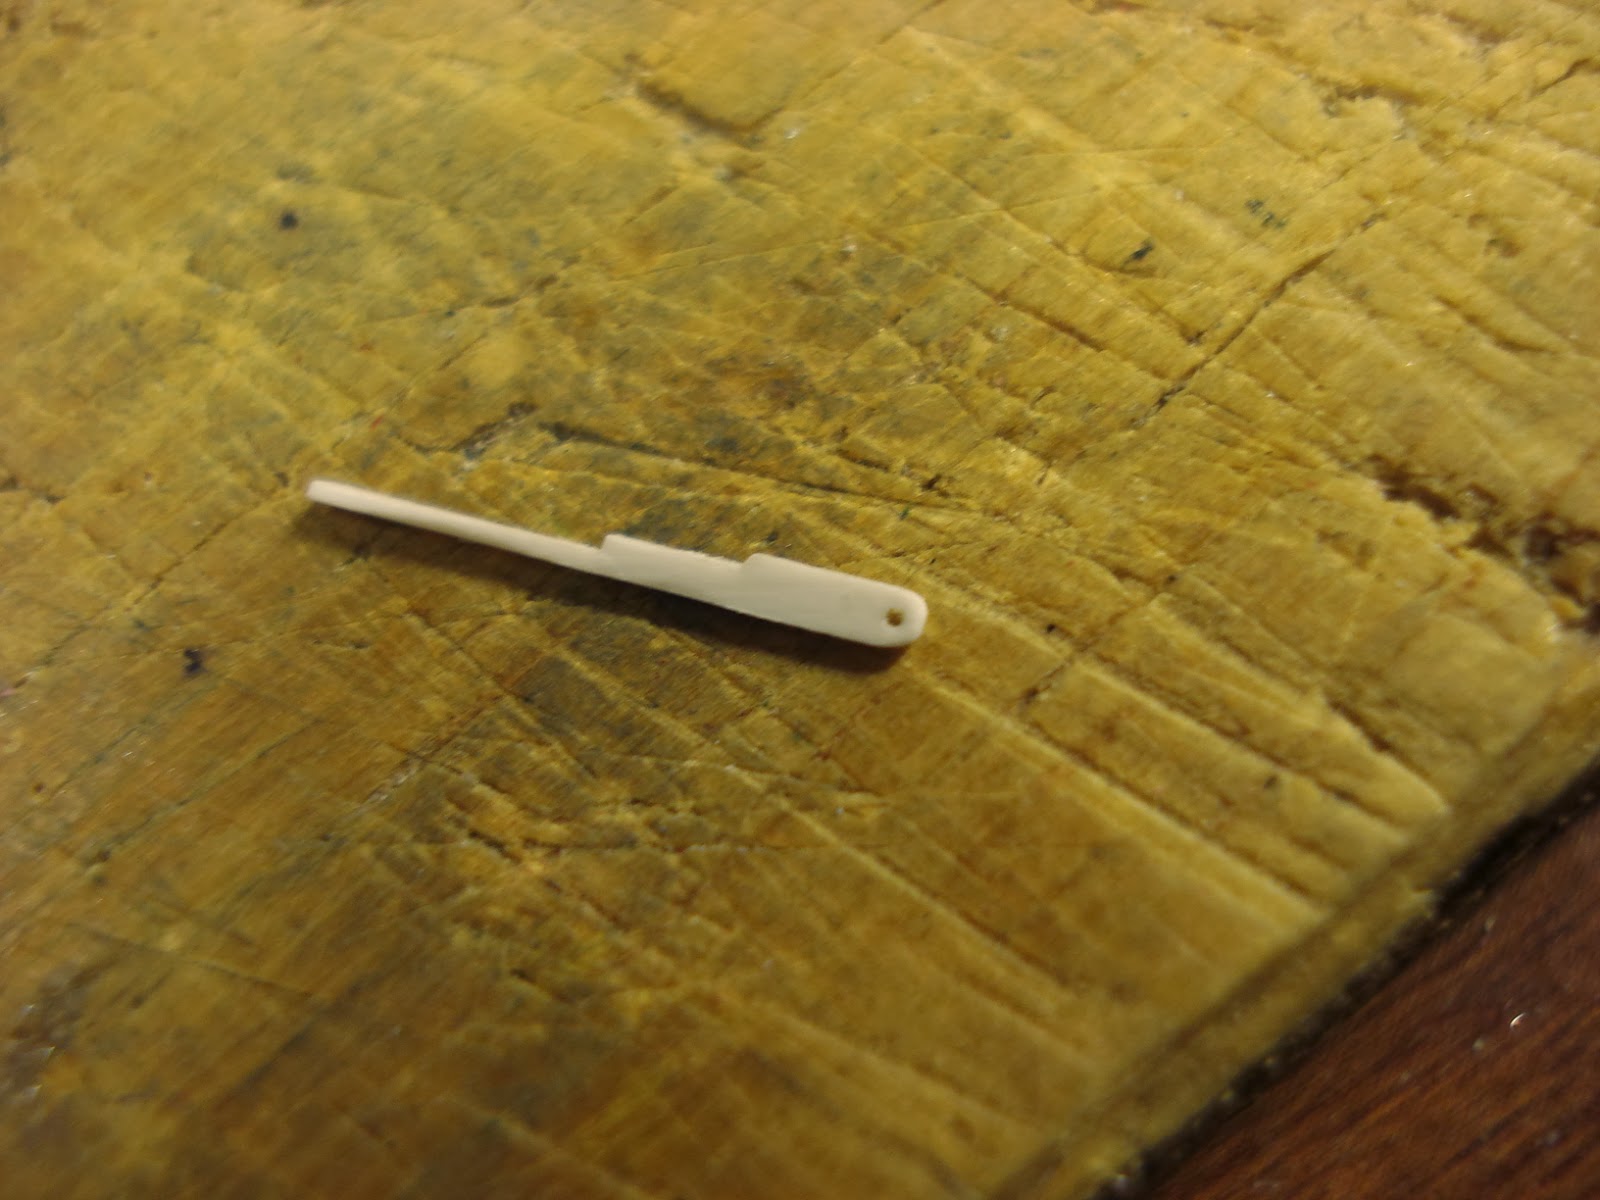
...then I would wrap the other end of the strip around to form the second hole and then slide the pins in and boom, its done. Well, things didn't quite go that easily. Feeding a .015" brass pin through a .016" hole in a tiny aluminum bracket and a plastic arm proved to be quite the annoying challenge. Inspiration hit me in the shower that I didn't need to actually have a hole here. The underside of the hole would not be seen. So...I cut off that underside.
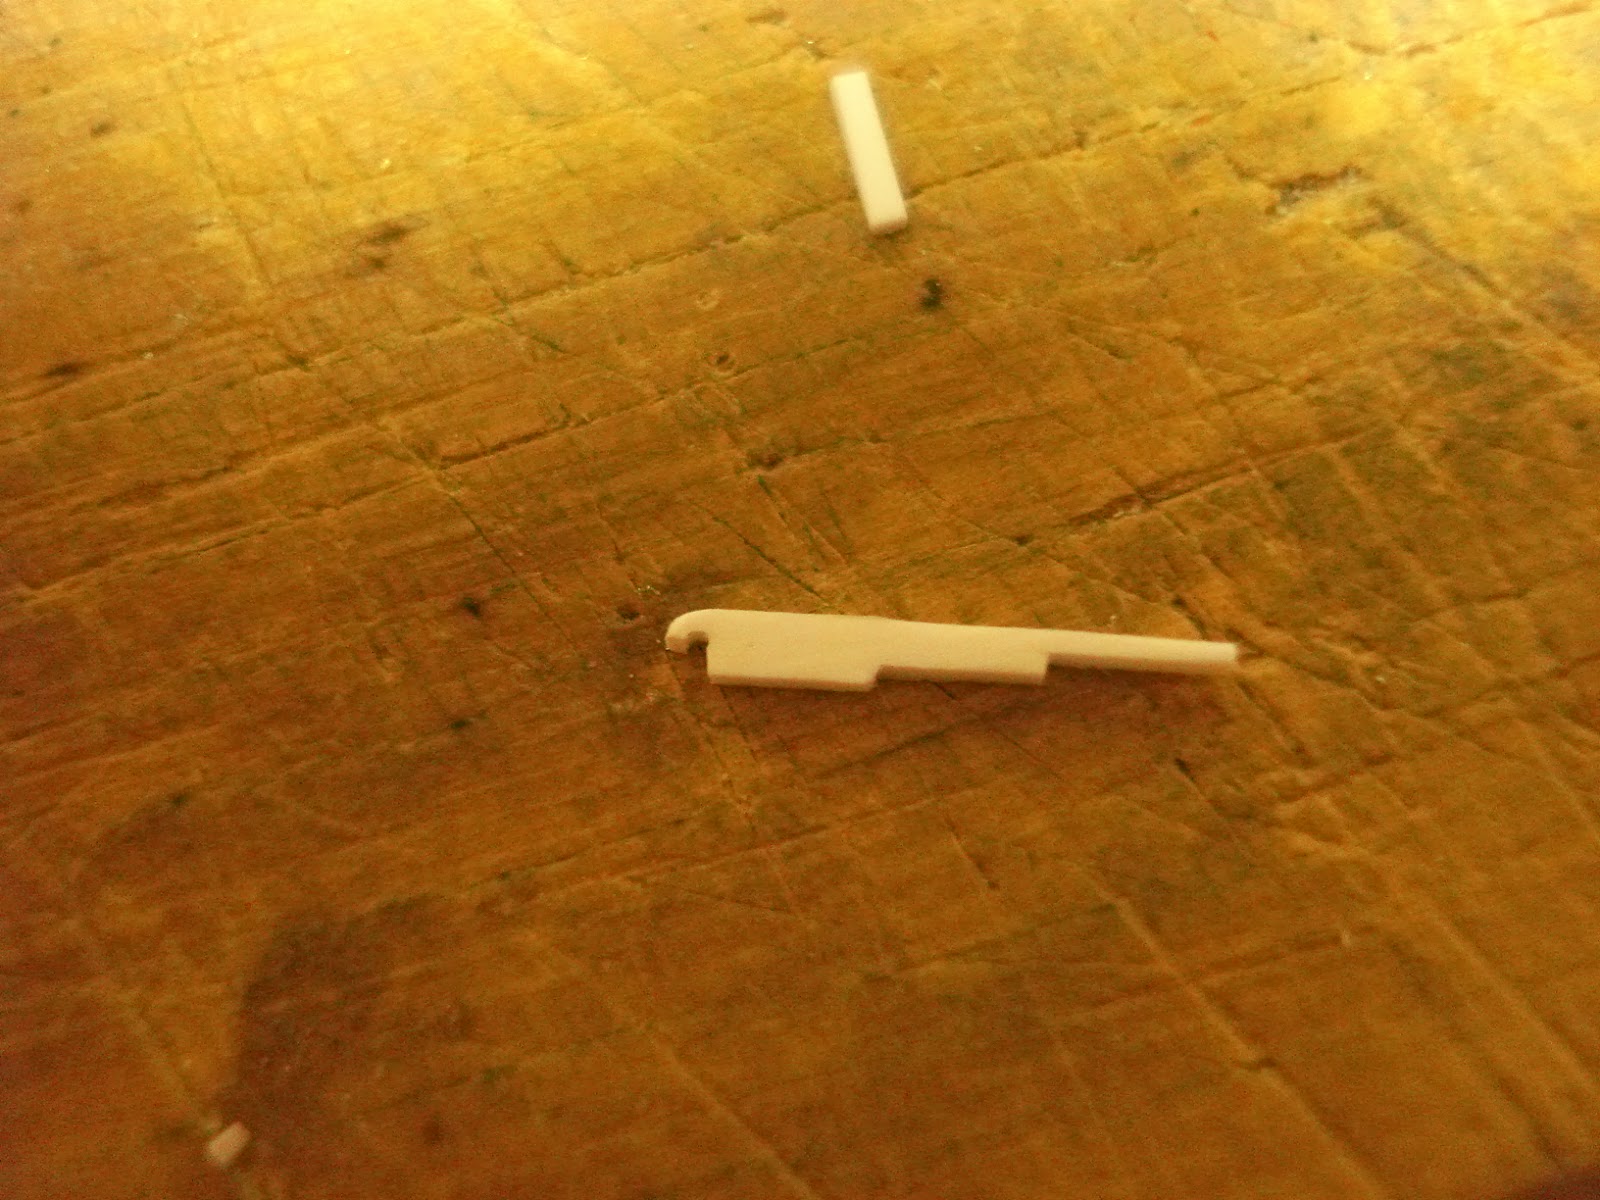

Now I could just sit the arm on top of the pin without having to fuss with feeding the pin through the hole. I tried it with this piece and it worked beautifully. Unfortunately this particular piece was way too thick. The support arm should be roughly square. I had to try a few more incarnations of this and ended up just using 2 pieces of .015" x .030" strip, one cut to fit the distance between the pins, the other to form the visible part of the arm. Sure I could have used .030" square stock, but I don't have any. Just gotta work with what I have. The picture below shows the progression of this process. The top arm is the one that was used. I filed a little divot so the pin would sit a little deeper in the arm.


After a little green zinc chromate, the arms popped right into place with a little super glue.


And personally, I think they look pretty good. The pins are .015" brass rod cut to length with a little dab of silver paint on the ends.


Last but not least was the return oil line on the top of the oil tank. I showed the construction of the new line in the last blog. It was painted zinc chromate with a little bit of bare metal revealed near the top as per the real Mustant. I created the rubber connection hose by masking off the area and applying 3 layers of flat black paint. Once the masking tape was removed, it left a nice thick layer that looked like a rubber hose. This picture shows the hose already installed.


Here are some comparison photos of the original kit pieces and my modifictions. Its obvious the difference a few months of work can do.


Here are some other pictures of the completed firewall.


And with the completed engine. Of course it will look much better when the engine mounts, cowl structure, and additional cooling hoses are in place.


Next up will be some heavy fuselage modifications to transform the D model into a C model. It might have to wait til after I get my A&P license as I will be in hardcore study mode for the next couple of weeks. In the meantime, I may do a straight out-of-the-box build of a Revell ProModeler 1/48 F-84 Thunderjet that I have sitting here and do a couple blog entries designed more for beginners or people just looking to improve their building technigues. I gotta get my model building fix somehow :)

Wednesday, January 8, 2014

P-51C Mustang Firewall Construction - Part 2

I've been distracted lately with another model, not one of mine, so I haven't had much time to work on the Mustang. My dad has a friend who gave him a lowrider model to finish, my dad passed it on to me. I don't built lowriders. I look at this thing and don't have a clue what I'm looking at and the kit is so primative and crude, its almost an insult to have it near my Mustang LOL. Anyway, soon it will be done and I can get back to better things.

So now for part 2 of the construction of the firewall. This part has a lot of little details and I really wish I had a better camera. So please excuse the blurriness of some of the photos.

I started with the two turnbuckles that secure the top and bottom tank straps together. I first painted the .015" brass rod silver and glued them in the holes drilled into the straps. The turnbuckles themselves were first made with the same .015" brass rod, but this proved to be much too large for scale. So I switched to some .007" wire pulled from an electrical wire and straightened. To create the nut, I wrapped the same wire around a straighten piece.


I pulled the ends of the wrapped rod tightly and cut along the length of the straight rod. This left a tiny little ring wrapped around the wire. With tweezers I worked the ring to the proper shape and tacked it in place with a smear of super glue. After cutting it to length to fit inside the pins in the straps, you get something really small, but really cool.


Here's the turnbuckle glued in place. This looks so much better than the kit parts, even though it's so small, its likely to be one of those overlooked details. But for those who see it, it will be mindblowing!


Before gluing the oil tank to the firewall, I had to fasten the strap mount brackets in place. I did this by eye, because the kit mounts were cut and filed off. Once I was satisfied with their position, I drilled a hole through the firewall for the "bolt" that will hold the mount. I slid a brass rod (painted silver) through the back of the firewall, protruding it on the front side enough to be a good scale bolt.


I scrapped away a little of the paint on the front of the firewall around the bolt so the glue surfaces would be more clean. I glued the mount in place with super glue.


The oil tank was glued on and two more brass rods were painted silver to create both the pins and the rods to finally mount the straps to the fire wall. It could some experimentation to get the length right, but once in place you see it all come together beautifully.


I had to add a few little details that were left off the kit oil tank, which can also be seen in the above photo. The dip stick tube and filler cap were made from plastic rod. The pull tab on the dipstick tube was made from soda can aluminum. Here is another picture of these details.


The hose running from the firewall to the top of the oil tank was included in the kit, but any one who has built a kit with round parts knows they are never actually round and there isn't much that can be done to fix them. So I made a new one from a paper clip. The clip had some corners which were easily filed down to make it more round.


I also had to cut off the hose from the filler port on the oil tank and hollowed it out so I can fit the new hose inside.


The hose was painted zinc chromate and is currently awaiting its attachment. That will be continued in part 3.

Thursday, December 19, 2013

P-51C Mustang Firewall and Oil Tank - Construction Part 1

Well its been a busy week so I haven't had much time to work on my model, but I did manage to get some things done and had a few headaches along the way. On top of that, I was bidding on my next few projects on eBay, two 30 year old kits: Star Wars X-wing and Shuttle Tydirium. The X-wing I built when I was a kid, but now I need to do it justice and the Shuttle Tydirium my dad built and it sat in the garage taunting me my entire life. Time to get my hands on one!! Should be some fun projects.

Anyway, on to the Mustang...

Before I could add any of my scratch built details, I had to remove the kits molded details, if they can even be called that. I clipped them off with wire cutters, filed them flat, and then used fine sandpaper to smooth the surfaces.


Do the same for the oil tank, but leave the molded-on straps. Digging out the strap clamps was fun. I used an X-Acto and sharp tipped file to get it all out. Everything else was fairly straightforward.


With the oil tank cleaned up, it was airbrushed with Model Master Acryl Yellow Chromate. This was my first time airbrushing with this type of paint. When I painted the oil tank, I didn't use any thinner since I had read online that this paint can be airbrushed without it. The tank came out ok, but not as good as I would have hoped. I thinned the paint when I painted the firewall and it came out much better.

To attach the metal straps, I scratched the paint off the molded straps and drilled a little divot, because I left a little bit of an extension in the simulated bolt that holds the strap together.


The straps were bent to shape as close as possible before gluing. This made life a little easier. They were glued down with super glue.


I did the same for the firewall details. Standard old super glue is the best thing I found to attack aluminum to plastic. Scuff the mating surfaces first and clear away any paint and it should hold fine. I wouldn't use it for any load bearing joint, but these are just light details.


Already things are looking much better than the molded details. Everything else was just glued in place. I took two videos to show the pieces. Please excuse the occasional blurriness. They were taken in a hurry with my phone.


Hopefully with a Christmas break from school I'll be able to get more done...

Wednesday, December 4, 2013

P-51C Mustang Firewall - Oil Tank Mounts and Brackets

I could title this blog "More Fun with Soda Can Aluminum" but I'm getting the sense that this title would apply to many blogs in this project. I'm finding it to be a very good medium to work with and a good scale metal. Mathmatically speaking if the real Mustang used 1/16" inch aluminum then in 1/32 scale it would be .0019" thick. Soda can is .003" thick and well if you can see the .001" difference then I'll eat my next soda can. The aluminum is strong, yet you can cut it with a razor, X-Acto knife, scissors, and can scribe it easily as well. It can be smoothed and shaped with fine sandpaper and doesn't have much spring back when bent. Granted, if you bend it too many times it will snap. It can be drilled even with small drill bits without damaging the bits. And the best thing about it is it is free and plentiful, if you drink a lot of soda :)

So now let's get onto it. The Mustant oil tank is held on with two metal straps (see previous blog). These straps are secured to the firewall with a variety of mounts and brackets, which is what this blog will be about. I'll take it piece by piece.


 I'm not sure what this piece is for, but it sits by itself over the oil tank mounted to the firewall. It was a simple rounded triangular shape with a bent flange. Reference photos provided the shape and size.


The oil tank straps are fastened to the firewall with this bracket. It is made from a thin strip of aluminum. I cut one end into a point, drilled the hole in the middle with a .015" carbide bit, bend the shape, drilled the second hole, cut it to length, and then rounded down all the corners.


This bracket attaches the strap to the mount in the previous photo. This annoying little beauty was made from an aluminum strip cut as wide as the piece is long. Again reference photos were used to get this length. The piece of bend over the edge of a .040" plastic sheet and then cut and sanded to shape. The holes were drilled last so they would line up right.


This second annoying little booger is mounted low on the firewall. It actually holds two supports arms that are mounted to the bottom of the oil tank. It was made using a similar method as the bracket above, only this one had the added bonus of being angled. Hopefully it is visible in the photo, but the vertical flanges don't protrude straight out. They point towards the top of the firewall. It took a couple of tries to get the angle and shape right. Luckily the usability of soda can aluminum made this a little less of a headache.


This next part is the mount of the oil tank where the supported arms mentioned above will attach. Ironically this flat piece proved the most difficult simply because of the curved cut necessary. Its much to small to just take a pair of scissors and cut it out and you have to get it to match the curve of the bottom of the oil tank. To make this easier, I filed and sanded a piece of thin plastic to match the oil tank contour to act as a template. Then I laid it over my metal and scribed it with the sharp point of my dividers. With a nice groove carved into it, you can now cut it the rest of the way with an X-Acto knife and clean it up with fine sandpaper.


These are the finished mounts cut to shape with the holes drilled.

Here are all the detail pieces for the firewall laid out around a dime for size reference. All made from soda can aluminum. My only tools were simple hand tools and a little creativity.


Next up - a little destruction of the original kit pieces to make room for the new improved details and some painting. This is, hopefully, where I'll start to see all the hard work pay off.

Saturday, November 23, 2013

P-51C Mustang Firewall - Oil Tank Straps


Continuing on with my personal quest to give myself headaches, I tackled the oil tank straps next. The kit pieces have these elements molded on and I suppose they would look fine with a little paint and maybe some weathering, but I'm not going for fine, I'm going for mind-blowing. So these have got to be replaced.
I cleaned the edge of my soda can aluminum so both sides were bare metal. Then I cut a strip of soda can aluminum .040" wide and cleaned the burrs off the edges. You have to be careful doing this because you can very easily snag the end of the strip on the sandpaper and badly bend your nice flat strip.

The major pain in this piece is the slot in the middle of the strip, however there is an easy solution to this. Now I don't have access to a milling machine or a punch set, so I had to improvise. First, create the shape of the piece by laying the pin material over the strip and wrapping the end of the strip around it to form a loop. I initially thought using an old eyebolt rod would be the right size, which is what you see in the photo, but decided it was too small to look scale. For the actual strap, I used a .021" steel rod made from the same material used for fuel and oil lines on the engine.


 You have to use a reference photo of the oil tank to get the shape of the loop and the length of the mounting tab accurate. I tack glued the tab to the strap with super glue. This glue joint will break several times during the next few processes which is sure to cause a number of headaches, but it's really just there to hold the pieces together momentarily anyway.


Now to get the slot, I cut a pilot slit with an X-Acto knife in the center of the high point of the loop. If you're careful, you can even cut a little V groove in it. Next, I took my razor saw, that has a blade of .020" thick, and very carefully sawed along the groove until it broke through. Only saw in one direction using the back side of the saw teeth or this method won't work. Move the blade slowly, don't try to rush this. Once you get a good groove, told over some fine grit sandpaper and clean the slot. Use an X-Acto blade tip to clean out any flakes inside the loop. And presto, a clean slot. 


To simulate the bolts that hold the loop down to the strap, I will use some old eyebolts from a ship model I built years ago. Another lesson in never throwing old parts away. I decided to drill a small hole to insert a piece of the tail of the eyebolt. Use an X-Acto tip to drill a small pilot divot in the center of the loop tab. I used a .014" carbide drill bit to drill out the hole. Chances are this is where the glue tack on the tab will break, but that's ok if it does, clean out any residual super glue. We'll hold this thing down later. You'll have to slightly enlarge the hole with an X-Acto knife to allow the eyebolt to fit.


To secure the eyebolt pin, and the loop tab, I used JB Weld applied with the tip of my X-Acto knife blade. I held everything in place with tweezers until it had set. Fast JB weld will set in about 5 minutes. I cut down the tail of the eyebolt pin leaving a small protrusion on the back of the strap. I did this for a few reasons: 1. Cutting metal that is only held in place with .006" of gluing surface will most likely result in the pin breaking off and that means I would have to do the whole process over again. 2. I will drill out a space in the oil tank itself to hide this protrusion which will give me a little more gluing surface when I finally attach the straps to the tank. This is beneficial because the spring back of the aluminum could pop it free at one end. This little protrusion gives a more solid anchor.

Sunday, November 10, 2013

P-51C Mustang - Firewall Dzus Fastener Mounts

After getting a 97 on my A&P General written exam, I could finally dive back into my Mustang. First task is to create the Dzus fastener mounts to replace the ugly molded squares on the kit firewall. Now at times doing this, I did question my own sanity and you'll see why at the end. It took some playing around to figure out how to do this, but they came out pretty good.

First up, I cut a thin strip of soda can aluminum .040" wide. Soda can aluminum is thin but tough, but the good thing is you can cut it with a sharp razor. Working with it is quite the pain though, especially at this size.


As with any metal, there are always burrs to get rid of after it's cut. Soda can aluminum also has a film on the inside and colored ink on the outside to get rid of. The best way to accomplish both is to scrap it off with a sharp razor. Clean up what's left with some fine sandpaper. You should see the natural shiny aluminum surface. The difference is quite clear.


I had to make a jig so that my Dzus fastener mounts will joggle evenly. Those are just .020" plastic strips glued to a .040" base. The spacing comes from folding a scrap piece of soda aluminum over the edge of a .040" piece of plastic. You'll see how this works below.


Take the strip of soda can aluminum and fold it over the edge of the .040" sheet. This doesn't make perfect corners in the metal, but it gives you something to start with. I cleaned up the corners by pressing a thin metal ruler into them.


Once the corners are formed, I took a really small drill bit and drilled a hole in the center. Now place the bent strip back on the edge and hold the jig on top of it.


Hold this down firm and use a razor blade to bend down both tails of the metal strip.


Again this won't create perfect corners, but it gives you an edge to work with, but most importantly, it gives you even joggles. I used the sharp clean 90 degree corners of my dial caliper to clean up these corners.


Once you cut off the excess tails, you end up with a pretty good looking, yet insanely small Dzus fastener mount.


On the real Mustang the mounts sit on L shaped brackets, which are simple enough to make. Cut a strip, cut to length, and fold it in half. Simple right...And it looks pretty good


The kink is this bracket is not straight, it's curved. And I don't have a microscopic stretching machine to bend this piece. So what to do? The answer: Cheat


Here is the finished piece with the mounts sitting on it to make it look cool. But how is it bend? It's really just an illusion. The piece is technically still straight. I gently bent down the ends of the horizontal side to give it a curved appearance and then filed down the corners of the vertical side to make it look more round. Together, this creates the illusion that the bracket is curved. I may even add more of a "curve" to the piece before I glue it to the firewall.

So if you're now questioning my sanity, I agree with you. This is nuts, but really this looks so much better than the little boxes on the kit piece and they will look even better once they are glued in place and painted.

Next up, replacing the metal straps on the oil tank....